
Once I had the shaded basecoat fully prepared for this next stage, it was time to break out the glazes!!
Here are a few shots so you can see what they looked like before the glazes were applied:

I did some work on the reds since you last saw these guys...


I started by doing some glazes on this Black dragon knight. Most of the focus was on the armor. I made sure to vary my colors, some more greenish, some with purple mixed in with the sepia, and so on.


More work on the armor. While I was at it, I also did some purple glazes on my reds to darken them, and some brown/black mixes on the leathers.

So, the infantry has their metals completed. On to the horsies!

The first horse was the drummer. Varying the armor glazes was a little easier here, since the areas were bigger than the infantry. This image also shows you the washes and glaze colors that I used.

The horses sure look different once they have been shaded, don't they?

Once the armor was done, it was time to shade the horses.

Then I took the dark blue glaze and did all the cloaks and tunics...

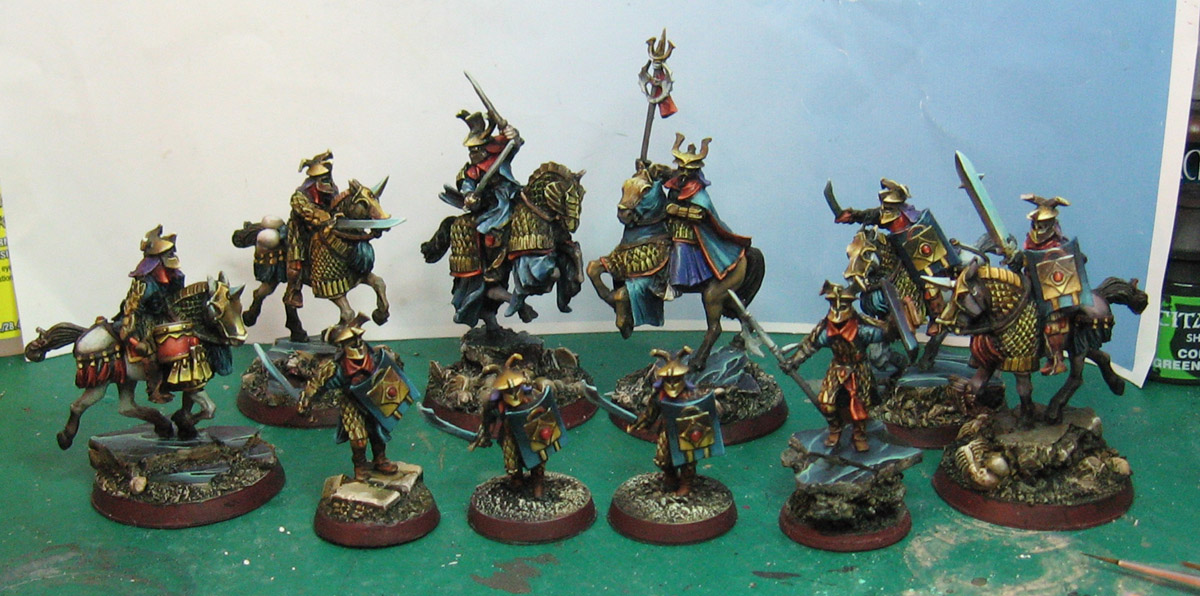
Now we have some images to show the final results of this phase...


At this point, I have to go back and do some reflected light and establish the brightest highlights. Stay tuned!!
I do hope these posts are helpful. Since I am busy painting away at these figures, I don't always get the pictures that I want, as the figures are the priority. :-)
You know one of these times at Adepticon I really need to take one of your classes to fine tune my painting.
ReplyDeleteI know I keep talking about making the painting videos that folks have been requesting. If I could ever get the time, there is a possibility that Rich could help out with his camera and editing software...
DeleteThe problem is getting the time! Way too much stuff to paint...